
Can a caprine fanatic find happiness without goats?
Friday, October 15, 2010
Betrayal
The ease with which some people can lie is frightening, but it's the pathological liar that we have the most to fear from. It's manipulation, pure and simple, and it's abusive. It wouldn't have gone on this long if I had used the 3-strikes rule. Rationalize, justify, internalize, compromise...I let fear of the truth control me. The truth can be bittersweet...liberating and demoralizing, comforting and reprimanding. When the elasticity of youth is behind us, bouncing back from betrayal is a long and rocky road. I'm almost there.
Tuesday, September 28, 2010
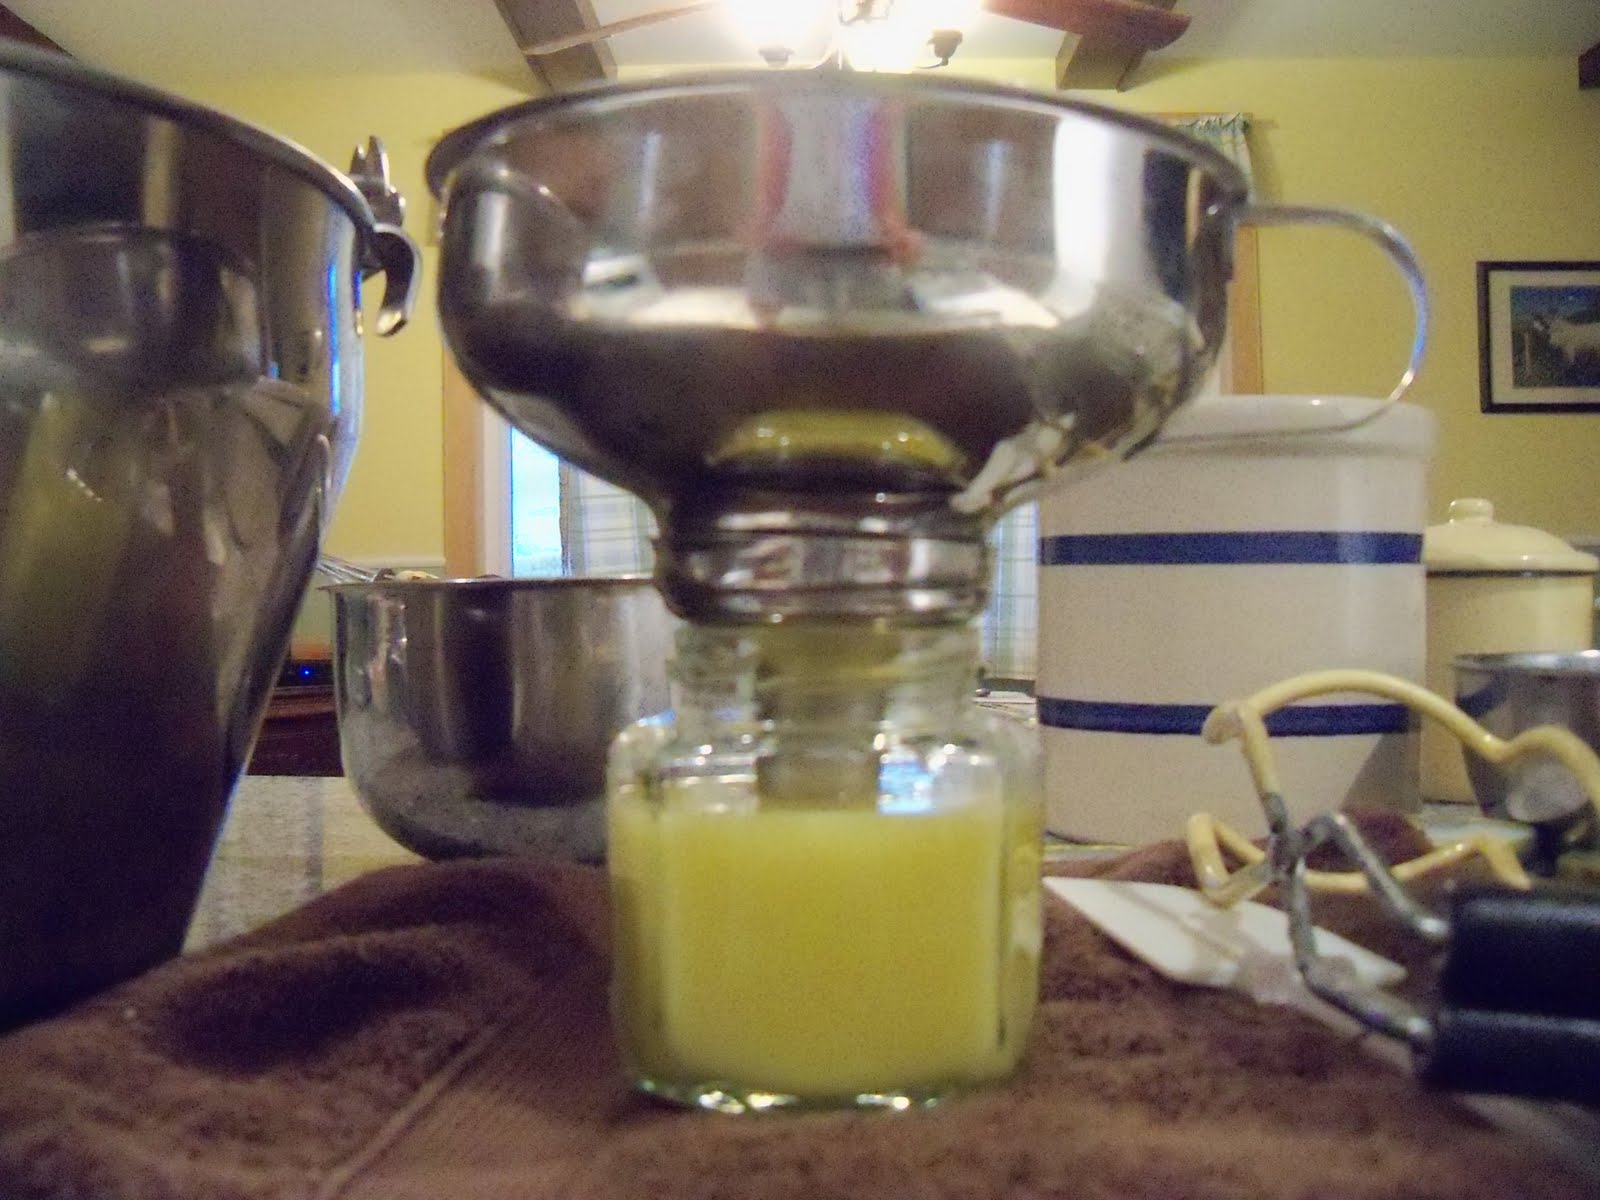
La-la Lemon Curd

Lemon curd is a refreshing change of taste on homemade crumpets with a steaming cup of hearty breakfast tea. I can't wait for the next crop of Meyer lemons to satisfy my craving, so I whipped up a batch using a traditional canning method. This method calls for bottled lemon juice, which isn't my first preference, but it does eliminate the fluctuations in acidity levels, making it more desireable for cooking up a larger batch and canning. While a fresh lemon curd has a refrigerated shelf life of 4 weeks, canned lemon curd (without any preservatives) is good for 4 months unopened plus another 4 weeks in the refrigerator after opening.
Ball canning jars are always my first choice, but with some items that I want to give as gifts, I use commercial jars for that professional look. I've been buying from SKS Bottle & Packaging for years. Excellent prices, service and delivery times.
Ingredients:
 High quality ingredients make all the difference with this recipe. Farm-fresh eggs enhance the flavor and color, but store-bought brown eggs are a good second choice. Stick with Domino sugar and name brand lemon juice and unsalted butter.
 ~2-1/2 cups sugar
~1 cup bottled lemon juice
~3/4 cup unsalted butter, cut into 1/2" pieces
~7 large egg yolks
~4 large whole eggs
Equipment:
 I would normally use a double boiler for a delicate egg concoction, but my Maslin marmalade pan does an excellent job. Even though this recipe calls for constant stirring and whisking, I never have to worry about burning or uneven distribution.
*Unlike most canning recipes, temperature is an issue with this one. Preheat the water bath to 180 degrees, but no hotter before the jars are added. If the water is hotter than this, the total processing time will take much longer than needed.
You will add the filled jars and wait for the timing to begin when the water reaches a full boil over the tops of the jars (approx. 20 mins.). Processing time will then be 15 mins.
Step One:
If you use a double boiler, do not start this Step with the bottom full of hot water. Remove the top pan to a countertop. (This is why I prefer using the Maslin pan.)
Whisk the egg yolks and whole eggs together until completely mixed in one solid color - no striations. Begin adding about a half cup of sugar at a time, blending until smooth before adding another half cup. Lastly, blend in the lemon juice, then add the butter pieces.

Step Two:
A silicone spatula or cooking spoon is recommended for constantly stirring the mixture to 170 degrees, but I prefer using a whisk with a gentle touch. This step is going to take about 10 mins., but don't be tempted to get distracted or leave it unattended. Stirring constantly means stirring constantly. As soon as the thermometer reaches 170, remove the top pan of the boiler to the countertop and continue stirring gently until the curd thickens (about 5 mins.).

Step Three:
Water bath is registering 180 degrees...check.
Canning jars sterilized in water bath...check.
Ladle thickened curd into the jars, secure the lids and tighten, place jars in the water bath...check.
Keep the lid on your water bath pan and start timing the processing when the water reaches a full boil. Process 15 mins. for jars containing 8 oz. or less. This recipe isn't recommended for larger jars.
Yummy, yes! But I can't wait to try this recipe with Meyer lemons. Last year I bought from the wonderful folks at Lemon Ladies Orchard in California. Karen Morss is a multi-talented, delightful woman who shipped my order in perfect condition. It was my first attempt using Meyer lemons and the recipe I chose was a lemon & vanilla bean marmalade. It exceeded my expectations and I plan on making more this year.
Saturday, September 11, 2010
Catnip Galore

Lucky me, lucky cats! For years, I've been prowling the countryside for wild catnip and this year I found a motherlode. Snipping the stalks, hanging them to dry, stripping the leaves off and setting aside the flower heads has been a real labor of love.
Finding wild catnip can be tricky. It favors well-drained soil on a sloping incline and is often over-shadowed by wild berry shoots or wild geranium. But once I found one of the hearty perennial plants, it became easier to discover more catnip nestled among the other plants. Every few days, I would check the plants and when they were sufficiently tall, I'd cut them or uproot them and hang them upside down in the mud room to dry.
 The problem with the mud room soon became apparent...too much humidity and the leaves weren't drying properly. So I moved everything inside the house to a storage room. Of course, the cats could then smell the catnip and they clustered around the door. Every time I passed that room, they would start parading around, as if to say "C'mon! Open that door!" I finally gave in and tossed them a few fresh cuttings. Big Barney was such a hog, sprawling across the catnip.
From that point on, the catnip dried very quickly and then it was on to separating the leaves from the stalks. Talk about a time-consuming task! I snipped all of the flower heads and put them in a separate container, and then stripped the leaves with my fingers, starting at the top of the plant. My back condition has also affected my left arm and hand, and since I'm left-handed, it took nearly a week of on-again, off-again activity to clean all of the stalks.
 I had to figure out how to chop the buckets and buckets of dried leaves. Hmmmm. Cuisinart made the most sense, but after whirling and whirling, it wasn't working. On to the blender. Oh yeah! The blender does a great job, even if takes alot longer. Two handfuls of dried leaves, dropped in loosely, and it ground up to a nice fine powder.
 So, the net yield from the leaves is 3-1/2 lbs. I'm thinking that some of the stems are narrow and soft enough to also be ground up and added. When I break them, they're incredibly fragrant, so they should add a little bulk without diminishing the strong scent. Now it's on to making up some catnip-filled toys. I always keep a good stash of various fabrics, so now it's just a matter of making a pattern, getting out the sewing machine and getting busy. The other thing left to do is get all of the seeds out of the flower heads and store them for planting next Spring.
This will make nice gifts for all of my cat-loving family and friends. It's got me thinking, too, about catnip and catnip toys being a nice item to add to the little business I'm thinking about...Goatessa's Cottage.

Friday, August 27, 2010
A berry exciting month!

I haven't made elderberry jam in years, so it was a real thrill to see two bushes sprout dozens of flowered sprays this Spring. Every few days throughout July, I would wander past the barns and down the tractor path to check on the bushes. The climbing evening nightshade was growing faster than I could pull it out, but somehow I managed to keep it away from the elderberries.

While waiting for the elderberries to ripen, I kept finding patches of black raspberries hidden among the burdocks, teasels and Queen Anne's lace. The raspberry bushes bore fruit for weeks, which meant that I had thorn scratches on my arms and legs in various stages of healing. But it has all been worth it! After lightly rinsing each morning's gathering of the berries, they were placed single-layer on a cookie sheet and put in the freezer. As soon as they were nicely frozen, I packed them in a freezer ziploc bag.
I used the same method with the elderberries, freezing them while still on the stem, on cookie sheets in the freezer. It was so much easier to remove the berries from those pesky stems and disposable plastic gloves kept my hands nice and clean. Once again, I decided to freeze the gathered berries in small ziploc bags until I had enough to juice them for jam.

As I did more and more research on elderberries, I discovered that this amazing little berry is good for more than just my favorite jam. It's a favorite among home wine makers. Elderberries are very high in Vit. C and I found a lozenge recipe that will be fun to try with the remaining juice. A tablespoon of elderberry syrup every day will be a terrific winter tonic, besides being a delicious syrup for french toast, pancakes, over ice cream or added to homemade frosting for a unique twist on cakes and cupcakes.
Since the elderberries yielded many pints of jam and apple season is still ahead of me, I decided to take a different route with the black raspberries. First up, a raspberry liqueur. The jar is filled with the black raspberries and the vodka is poured in. This will remain in a cool, dark place for 2 months. Then there will be several strainings of the mixture through cheesecloth and a simple syrup of water, sugar and lemon zest is made and added. The mixture will then be matured for another month. Voila! Just in time for the holidays!

I made two raspberry vinegars, one with white vinegar, lemon peel, thyme and peppercorns; the other with an equal mixture of balsamic vinegar and Italian red wine vinegar. Both will age in a cool, dark place for at least one month and then strained and bottled.
It's going to be a berry wonderful winter, made better if I can get back to making goat milk cheeses.
Tuesday, August 17, 2010
Goatology 101
If you want to buy a few dairy goats, I hope you don't get them the way I got mine. "Happy birthday!", he said, as I stood speechless, looking at the two black & white full-grown females in the back of his truck. "Oh, and one of them has to be milked..."
It didn't seem to matter that we didn't have a barn for these animals. "That's okay," he replies. "Ralph says we can just tie them up to concrete blocks and leave them in the back yard." Uh-huh. You mean, like coyote bait?
But I've only seen one goat in my entire life and that was a poor old buck tied up at a local farm stand. Milk a goat? Oh boy...
So while he set about throwing up a temporary shelter for Hillary and Hattie, I tried to make Hattie stand still while I figured out how get her milked out. It wasn't much fun. Turns out she had been a field goat and had never been milked. She kicked and stamped and bounced around until we both ended up with milk all over our hind quarters. But I did it. Yes I did! I milked my first goat! Huh? I have to do it again in 12 hours? Every day? For how long? Oh boy...
Lesson learned and advice to others:
Threaten (with life and limb!) any spouse who even thinks it might be a cute idea to buy you a farm animal as a present, without doing some planning. Planning is defined as (1) FOOD, (2) SHELTER, and, oh, maybe something like a (3) BOOK on how to take care of said farm animal.
Somehow we all survived. They endeared themselves to me, despite their very different personalities. Hillary had been a pet and thought her future was always going to be a frisky, carefree debutante. Hattie the field goat figured that the trade-off to being pastured and delivering her babies on her own wasn't too bad considering that no one was herding her around and telling her what to do. It was a three-way battle of the wills, but in the end, they acquiesced and allowed me to be the Queen.
I'm one of those people who doesn't like to not know something that I should know. It wasn't all that easy, back in 1993, to get access to information about goats. No books at the library. No internet. I called and wrote the folks at Cornell. I talked to farmers. I met alot of people who "used to have goats". The advice (and warnings!) I received told me that this whole idea of keeping and raising goats was going to require more than just a passing interest. But what the hay...I didn't have much to do. Renovating an 1850 farmhouse on 40 neglected acres, that's all. Scrambling to get it finished before winter set in, that's all. Filling the pantry with home-canned goodies, that's all.
Take it from me: raising goats isn't an impossible task, but it is difficult if you don't take the steps to prepare for their arrival and long-term care. You can do it the way I did and still fall in love with goats. Yes, they're that wonderful of an animal and worth every moment spent on them and with them.
Monday, August 16, 2010
New beginnings
It's been just a few days more than a year since we sold the farm and the goats and my husband and I separated.
I'm still in farm country , but making the adjustment to life without goats is every bit as difficult as I expected it to be. I miss caring for them, milking them, playing with them. My passion for All Things Goats is as strong as ever. This blog is my online journal to share what I have learned about these wonderful animals and their milk. Maybe, just maybe, goats will find their way back into my life and my heart again.
I'm still in farm country , but making the adjustment to life without goats is every bit as difficult as I expected it to be. I miss caring for them, milking them, playing with them. My passion for All Things Goats is as strong as ever. This blog is my online journal to share what I have learned about these wonderful animals and their milk. Maybe, just maybe, goats will find their way back into my life and my heart again.
Subscribe to:
Posts (Atom)